In todays post I received a parcel from pine64 with some of their latest goodies, including the PinePower Desktop.
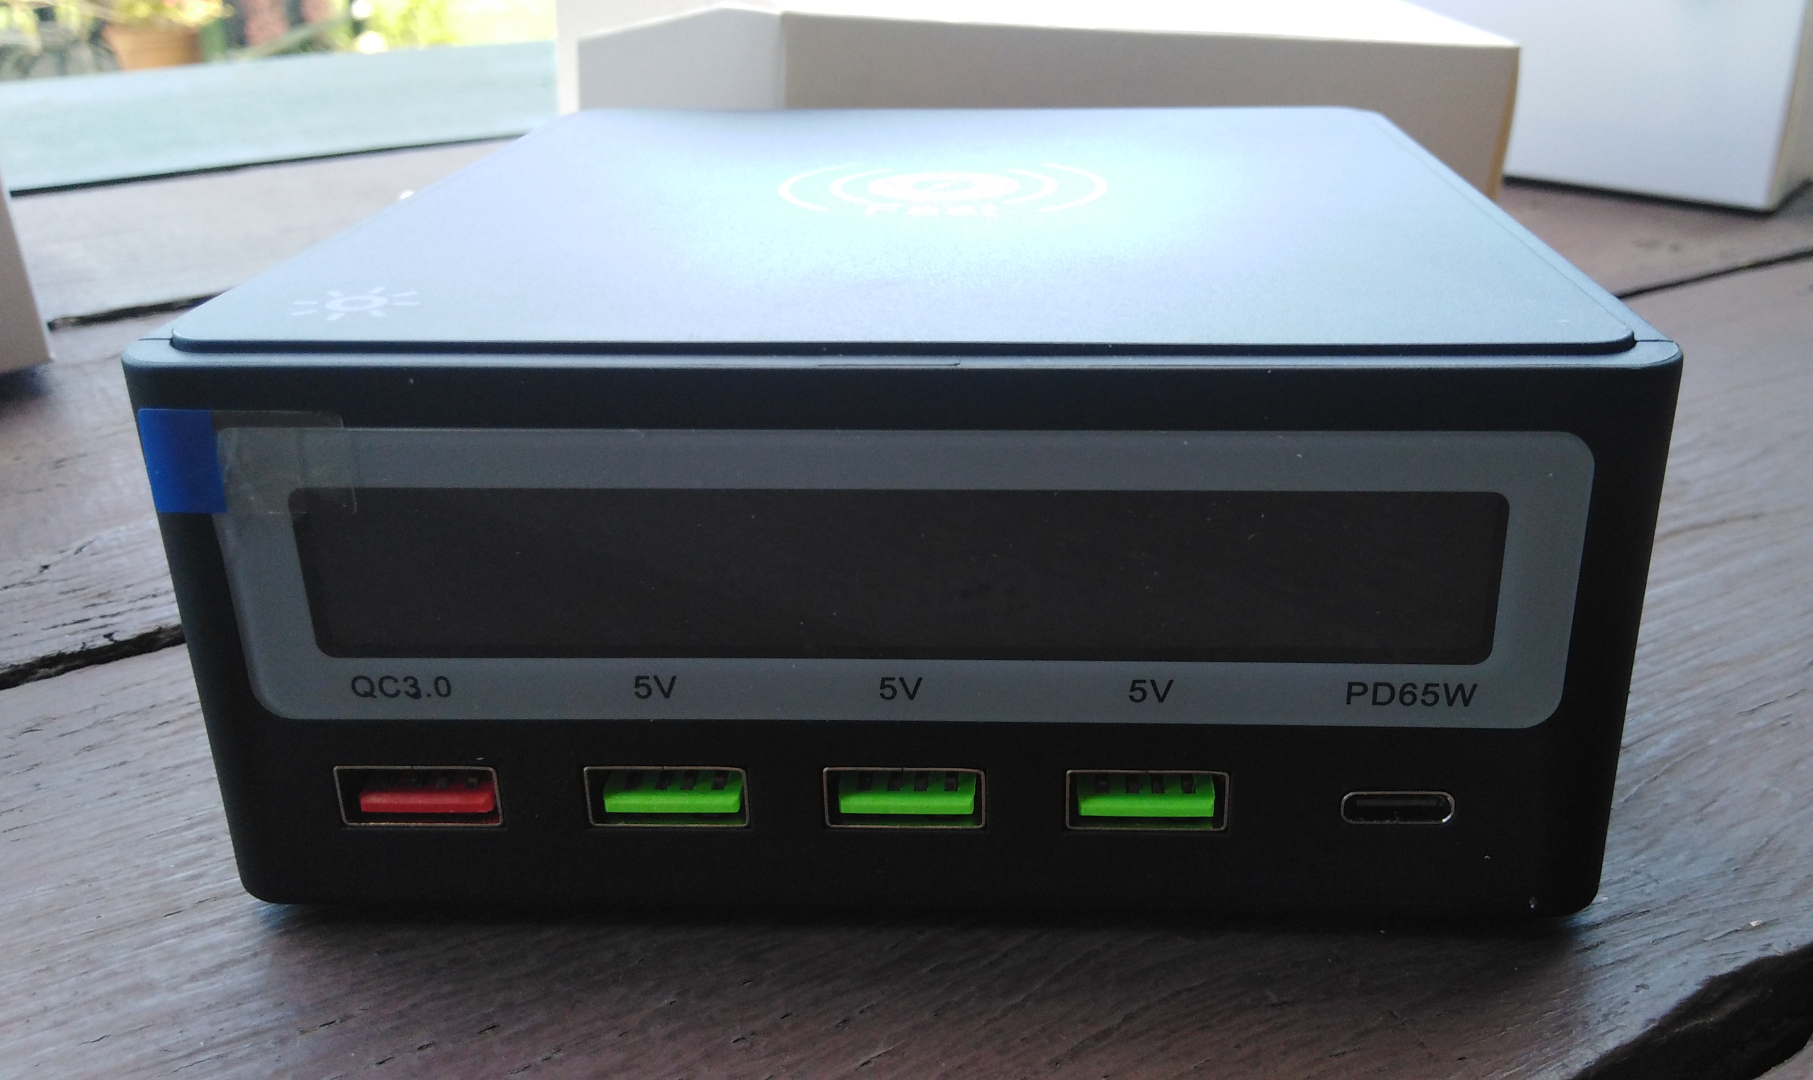
This is a desktop power supply unit, rated at 120W across five USB outlets, four USB Type A, and one USB Type C, which are all mounted on the front face of the unit. The first USB-A port is a QC3.0 port, supporting 5V3A, 9V2A or 12V1.2A. The remaining three USB-A ports are rated at 5V3A. The USB-C port supports Power Delivery (PD), at 5V3A/9V2A/12V3A/15V3A/20V3.5A. And to top of this unit, on the top there is a Qi wireless charging pad, rated at 10W. And last but not least, there is a display above the ports, to show you what is happening! It’s also sat on some nice rubber feet.
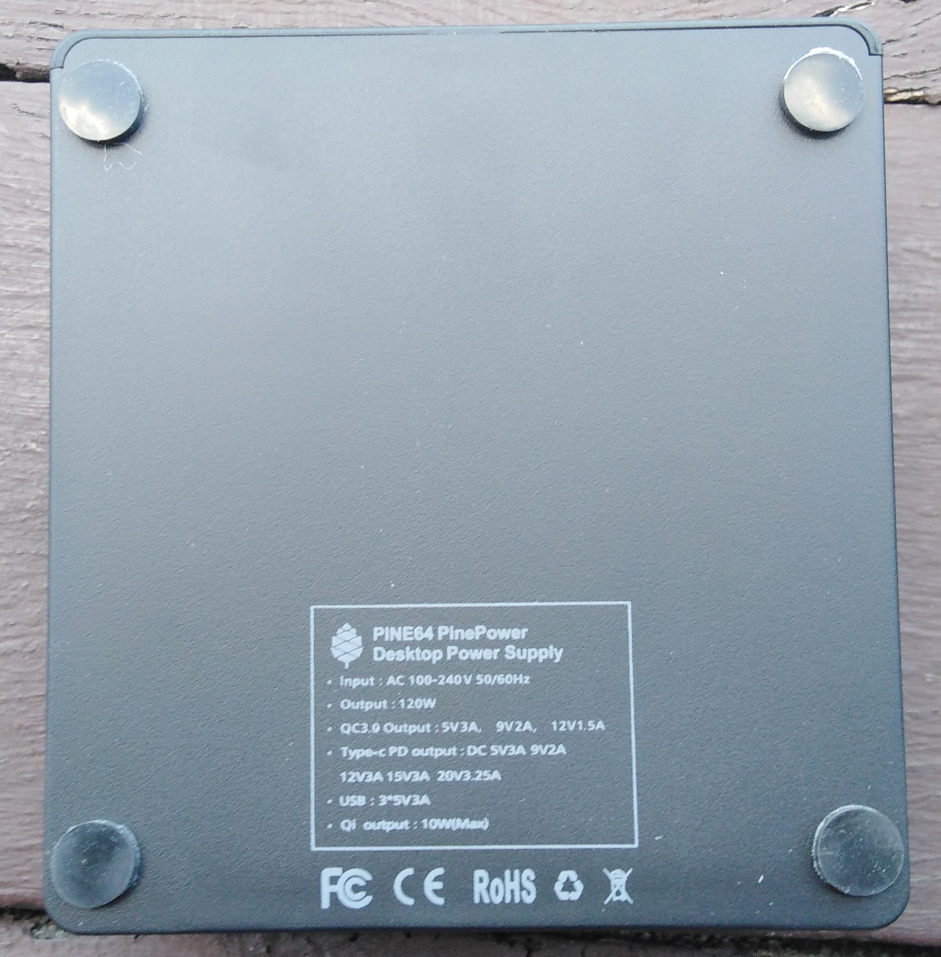
Input is 100-240V AC, via a IEC-C7 ‘Figure 8’ power connector, making this unit usable basically anywhere in the world - you just need to supply the power lead if you don’t have an adapter.

The box the PinePower Desktop arrives in is very unassuming… the only clue as to it’s contents is the sticker down in the bottom corner.
Inside that box are two more boxes …

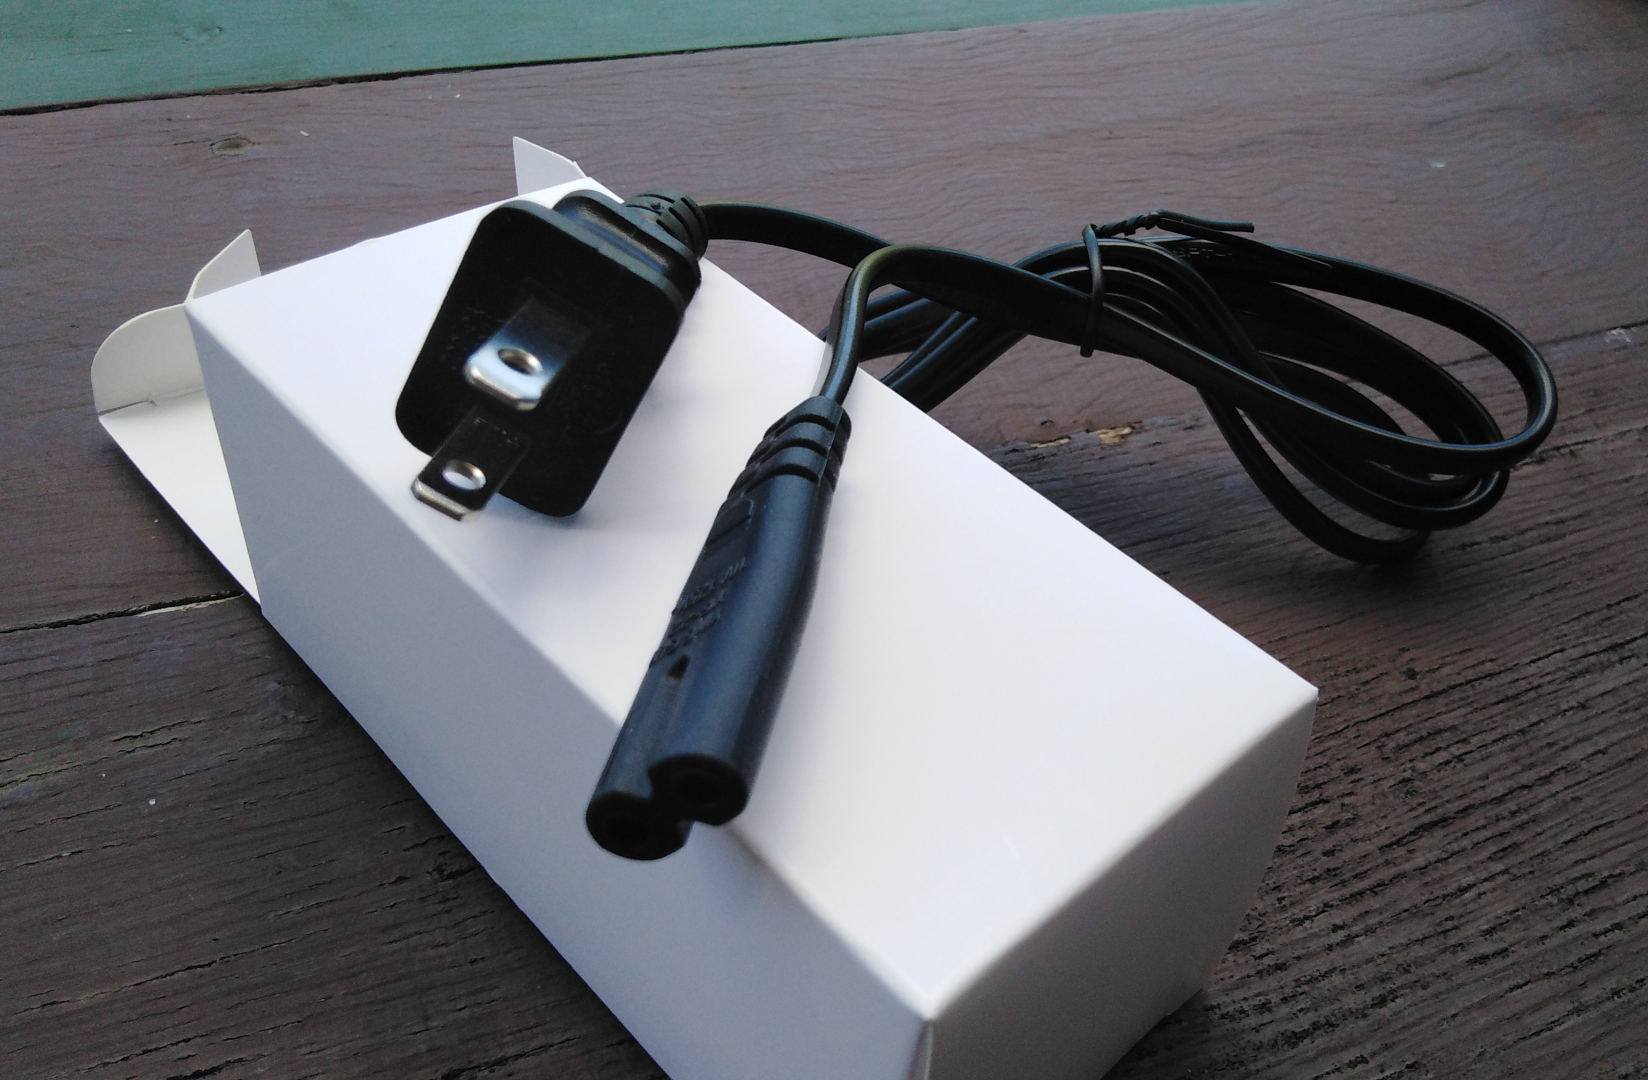
… one smaller one with the US power cable …
… and another one with the star of the show…
Upon trying some quick testing with the unit, it seems quite good… There is some voltage sag, with the 5V outputs dropping to 4.8v under a 4A combined load, but this is still within the +0.25/-0.60 USB voltage specifications. However, this does mean this unit would probably not be suitable for powering a Raspberry Pi, as they are notriously unreliable if the voltage drops much below 5.0v, unless using the red QC3 port, as that port does start at the slightly higher voltage of 5.2v, and drops to 5.0v under a 2.1A load. which is ideal for the Raspberry Pi.
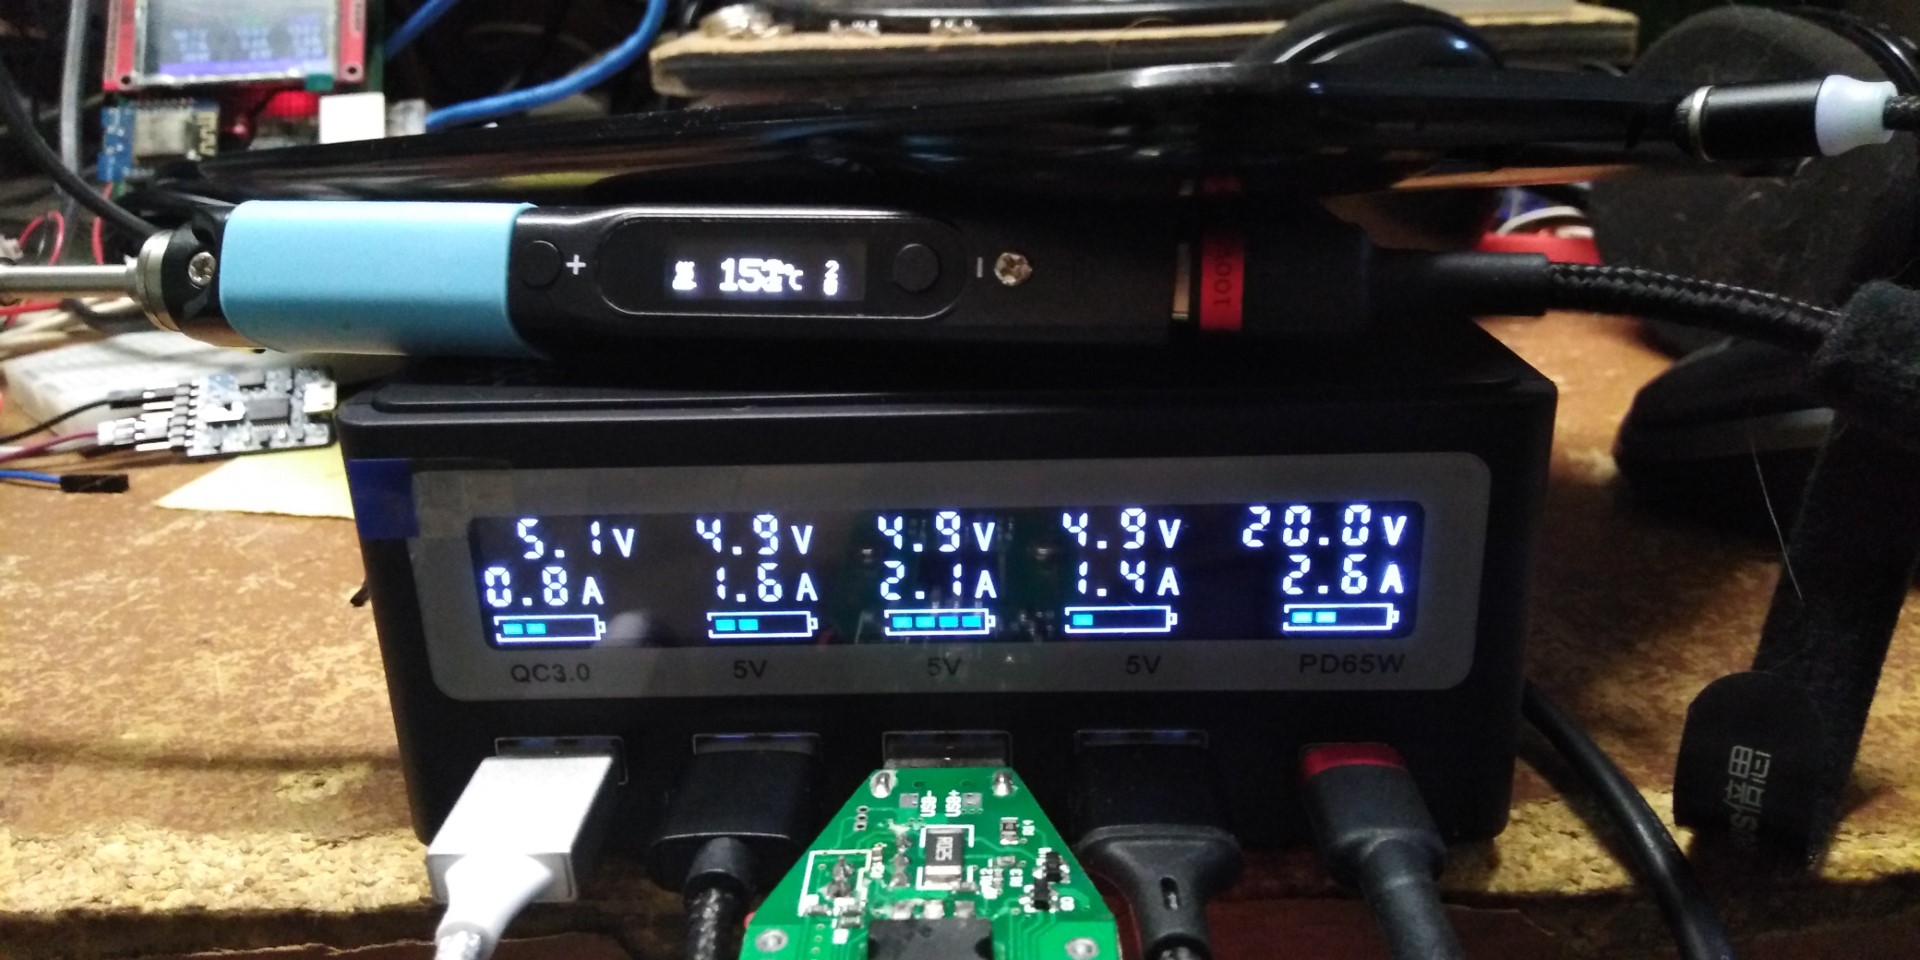
The unit is quite capable of charging a Pinephone, Pinebook Pro, and a Pinecil all at their optimim charge/power rates.
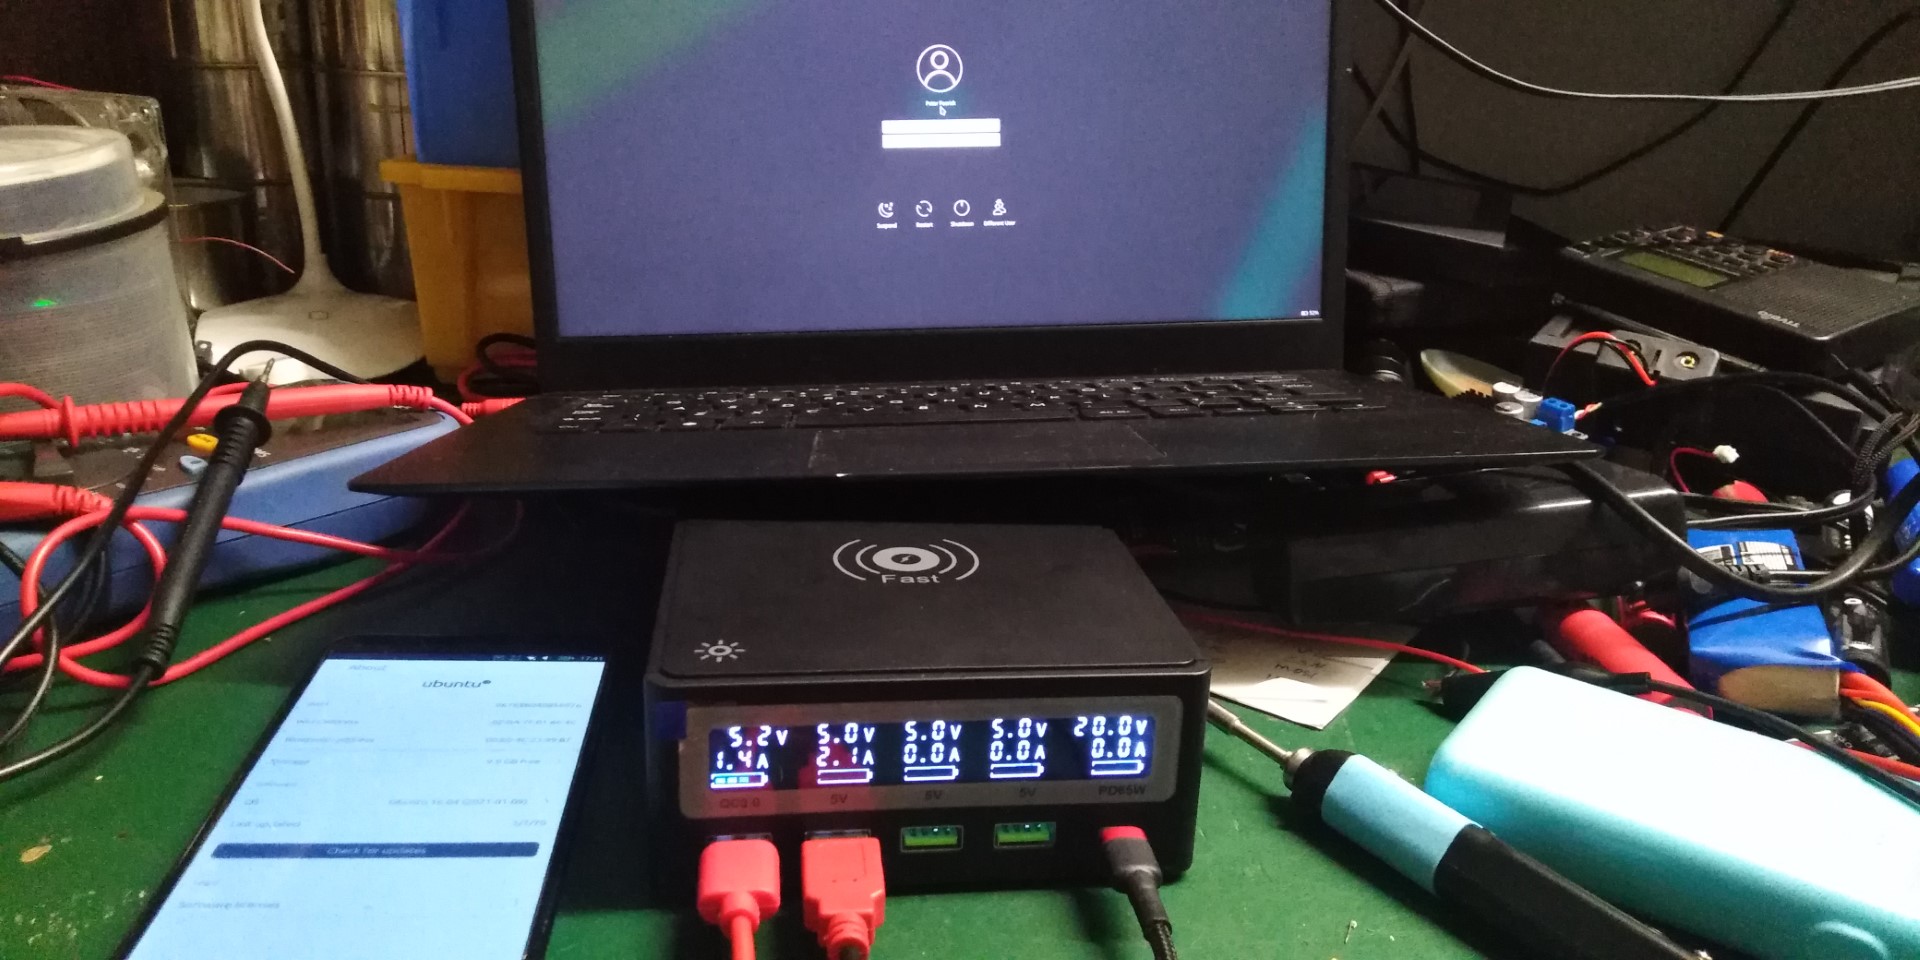
Regarding the display, I would like to point out that the 5v readout for the middle three ports seems a bit… misleading. Normally it will show 5.0v, sometimes 5.1. However, it does not appear to truely relate to the output voltage, as when the ports are loaded to 4.1A across two ports, the output voltage drops to 4.8v, but the display still says 5.0v. However, the display does change from 5.0v to 5.1v, so this is probably an issue relating to where the voltage measurement is occuring, not due it being a static display. The same issue affects the red QC3 port… the output voltage could be 5.0v (with a 2.1A load), but it still says 5.2v. As the first (red) port supports QC3, and the fifth (Type C) port supports power delivery, the voltage displays for those ports changes to indicate what voltage has been negotiated with the target device.
The amperage display is good, and is within 0.1A of my ‘precision USB meter’, and is more than good enough for the job. It does have one quirk though - where it does not show 0.4 and 0.5A - and instead jumps from 0.6A to 0.3A, but this is possibly related to the next point.
The final bit of the display… the battery guage. This is animated - it shows a four segment battery filling with loads of above 0.5A. When you drop below 0.5A (with the pinepower display still showing 0.6A) the segment animation freezes. There is no change to the battery gauge until around 0.1A, at which point all the segments vanish. I beleive this is an attempt at showing state of charge when charging a battery device… it is either charging, nearly charged, or finished/no load. Kind of pointless since you have the current reading on the line above, but it is a nice bit of eye candy still.
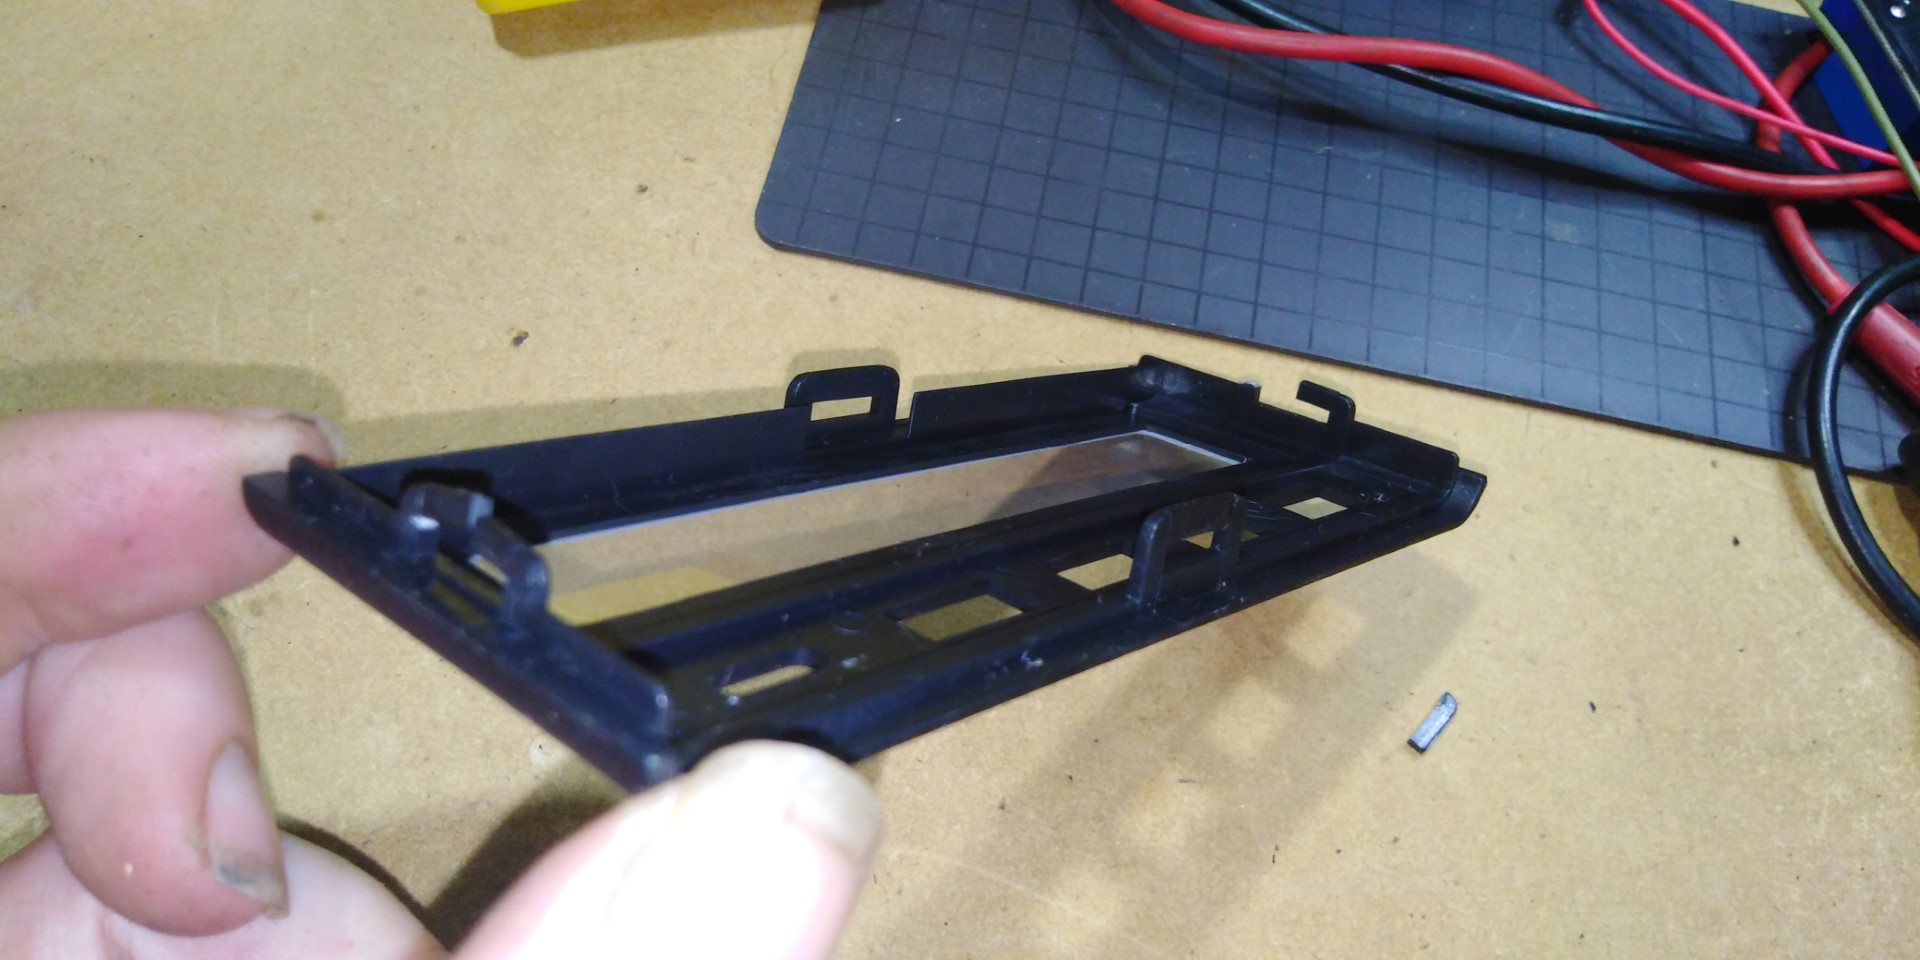
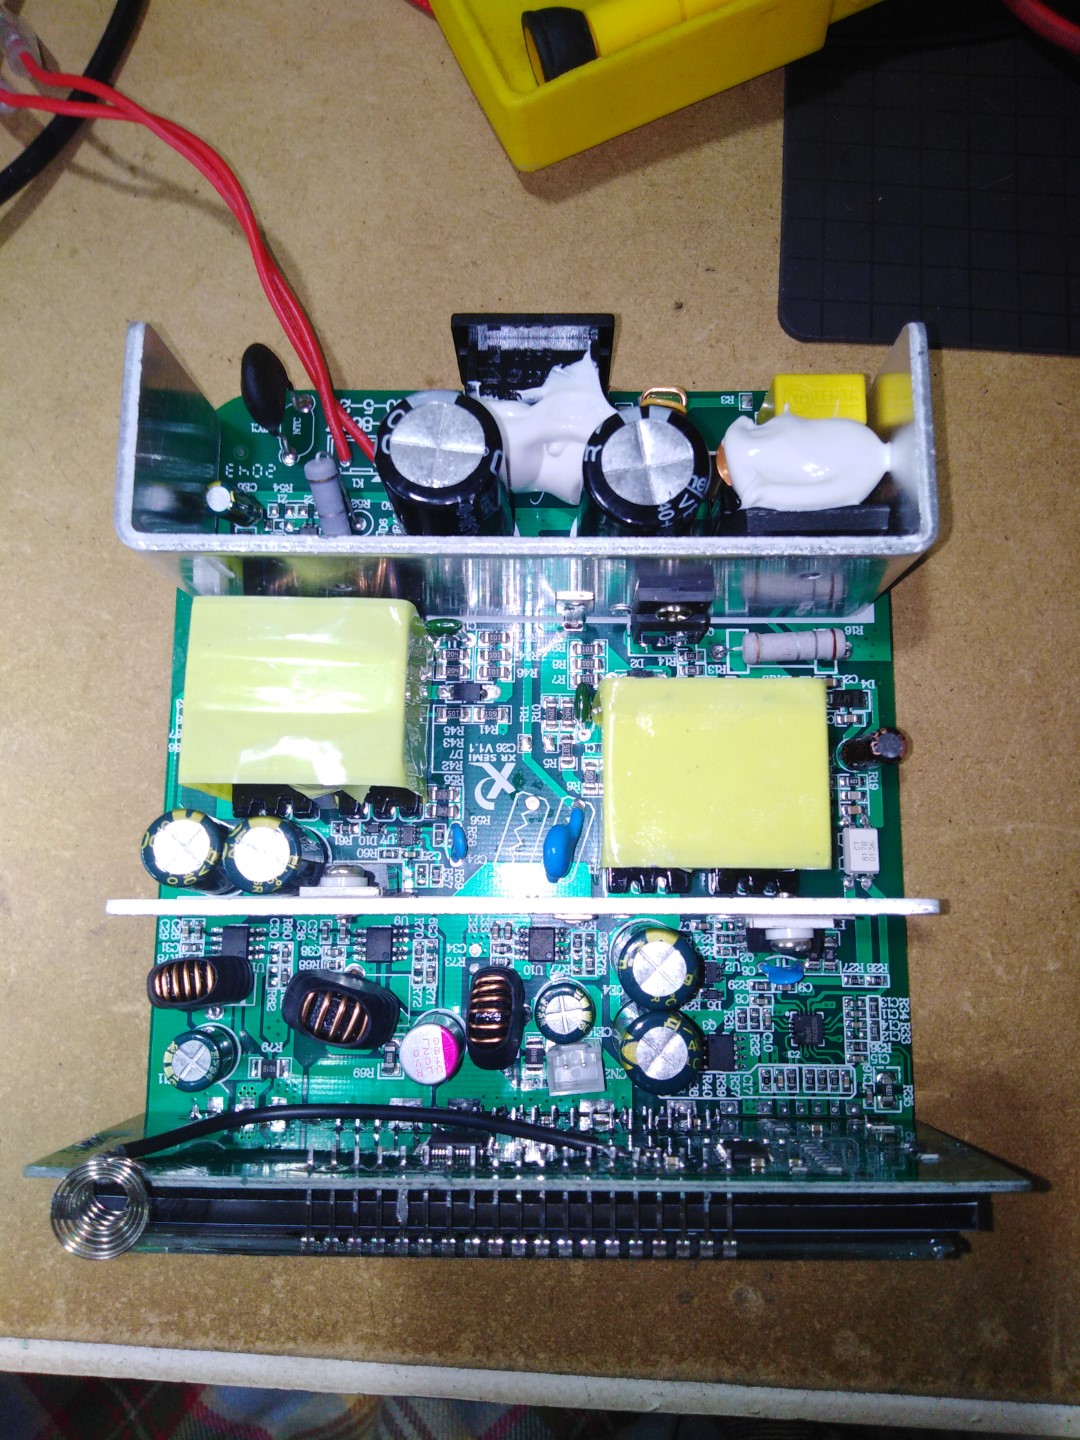
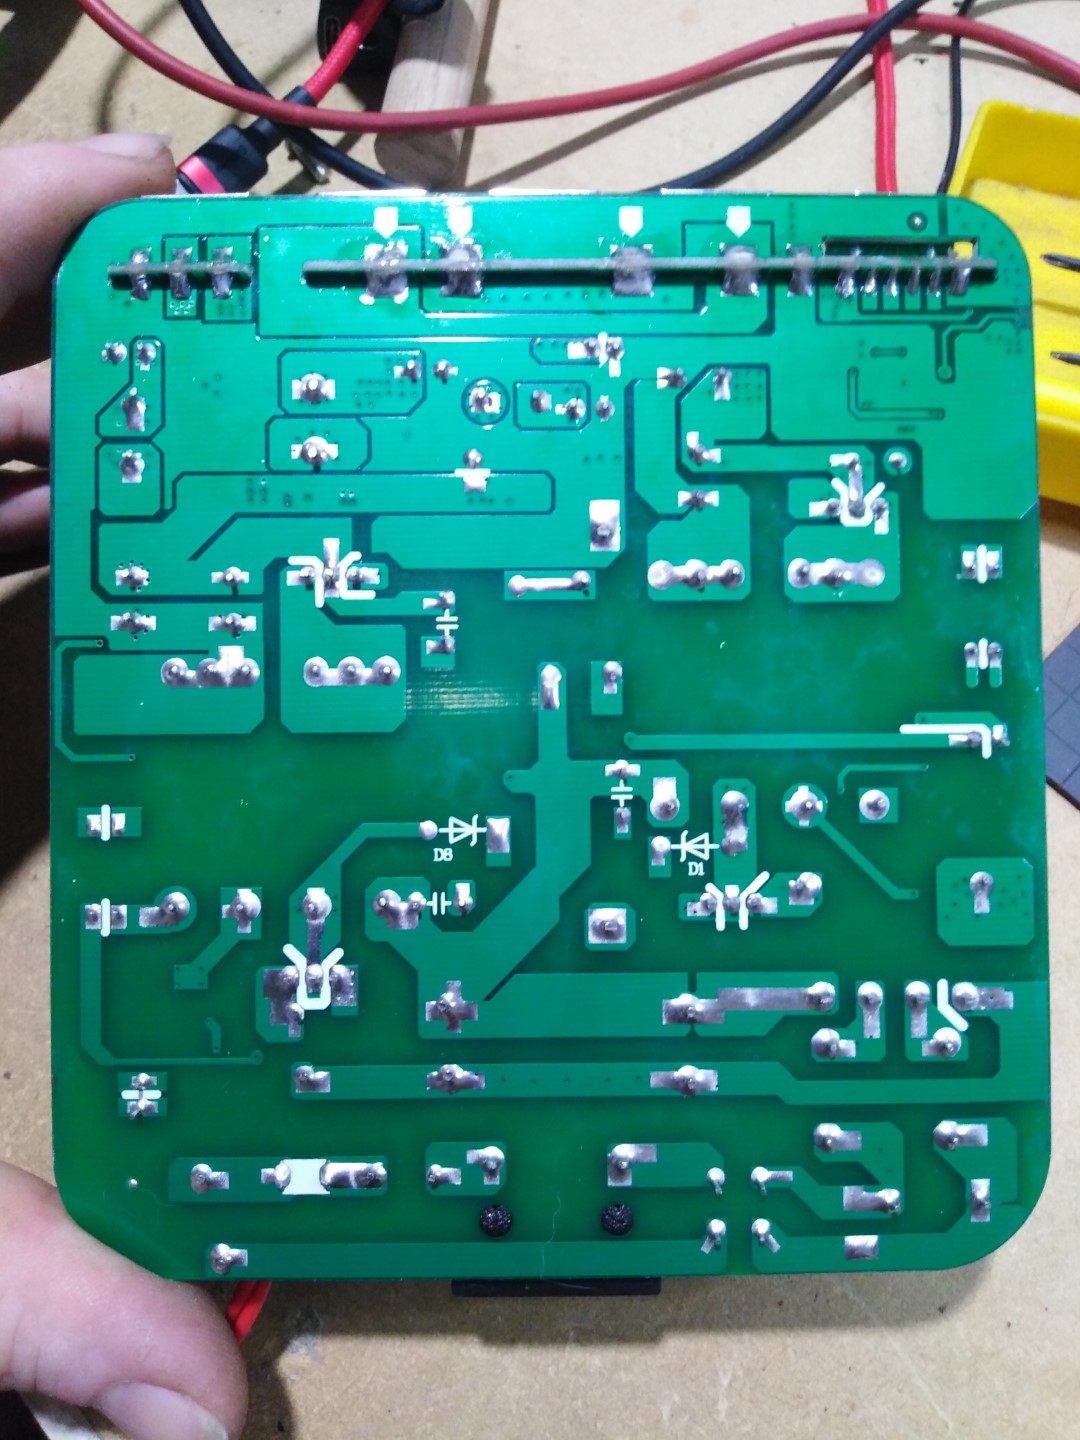
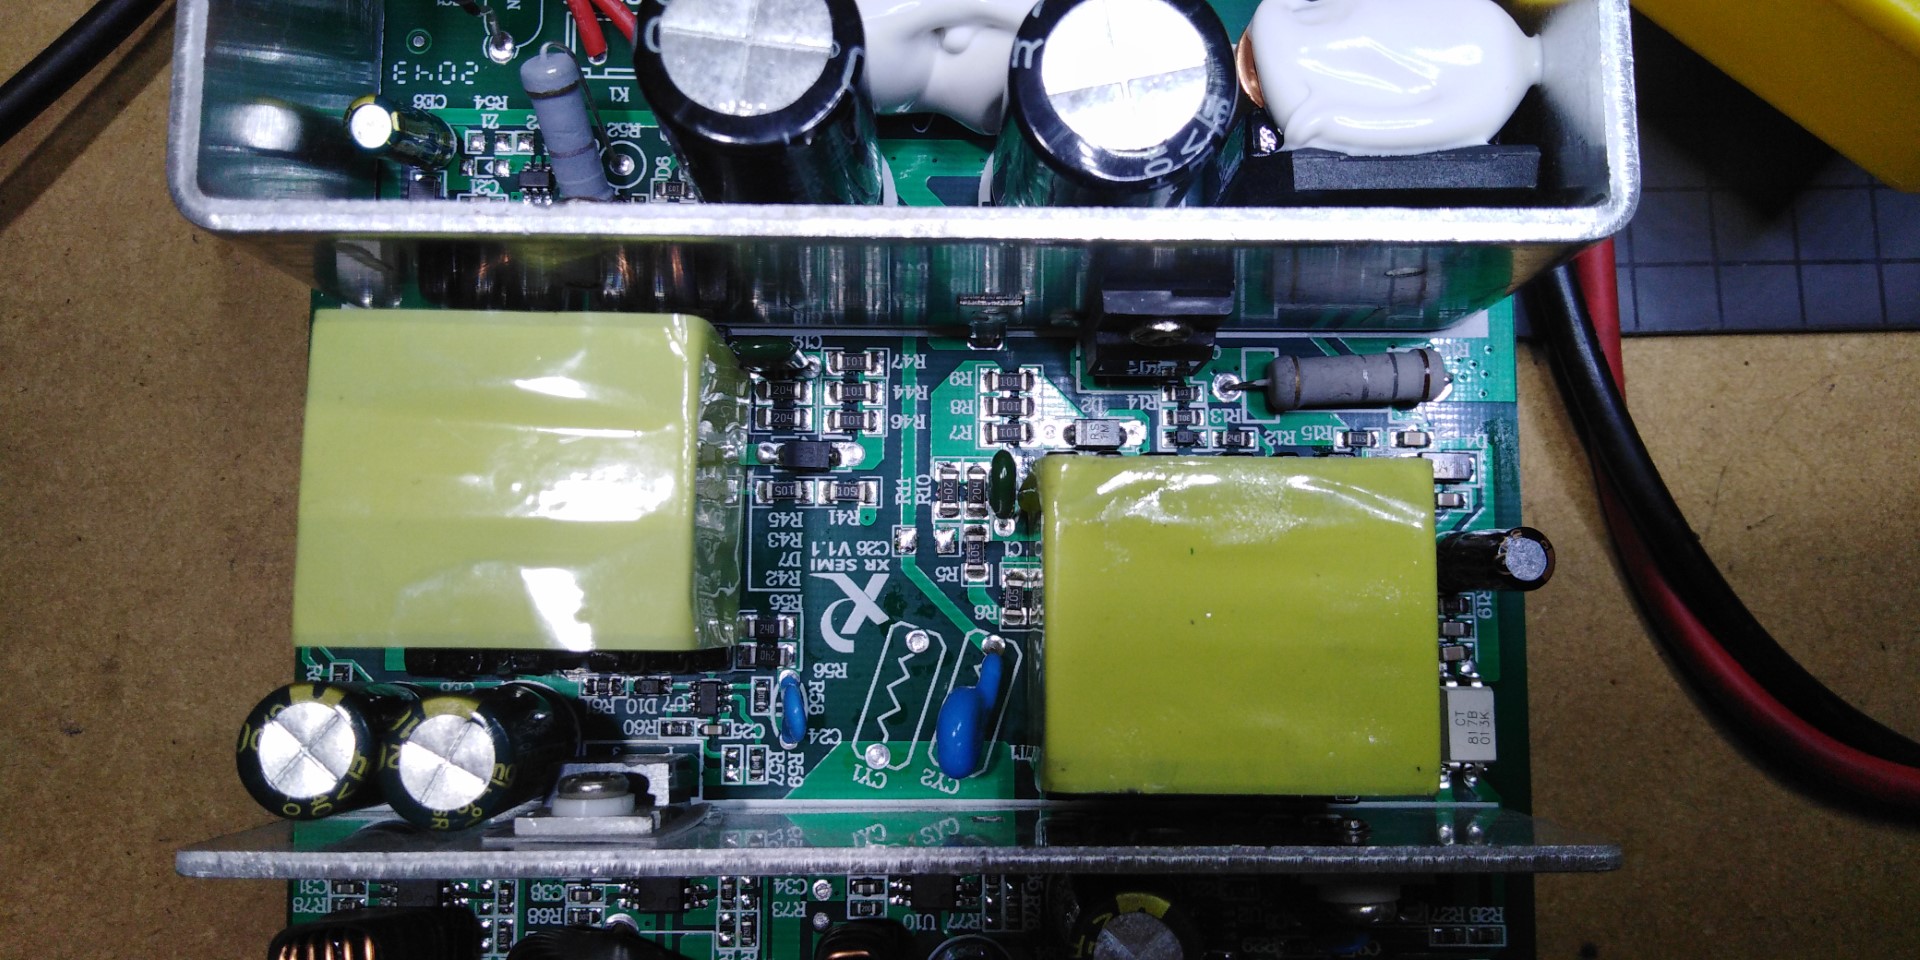
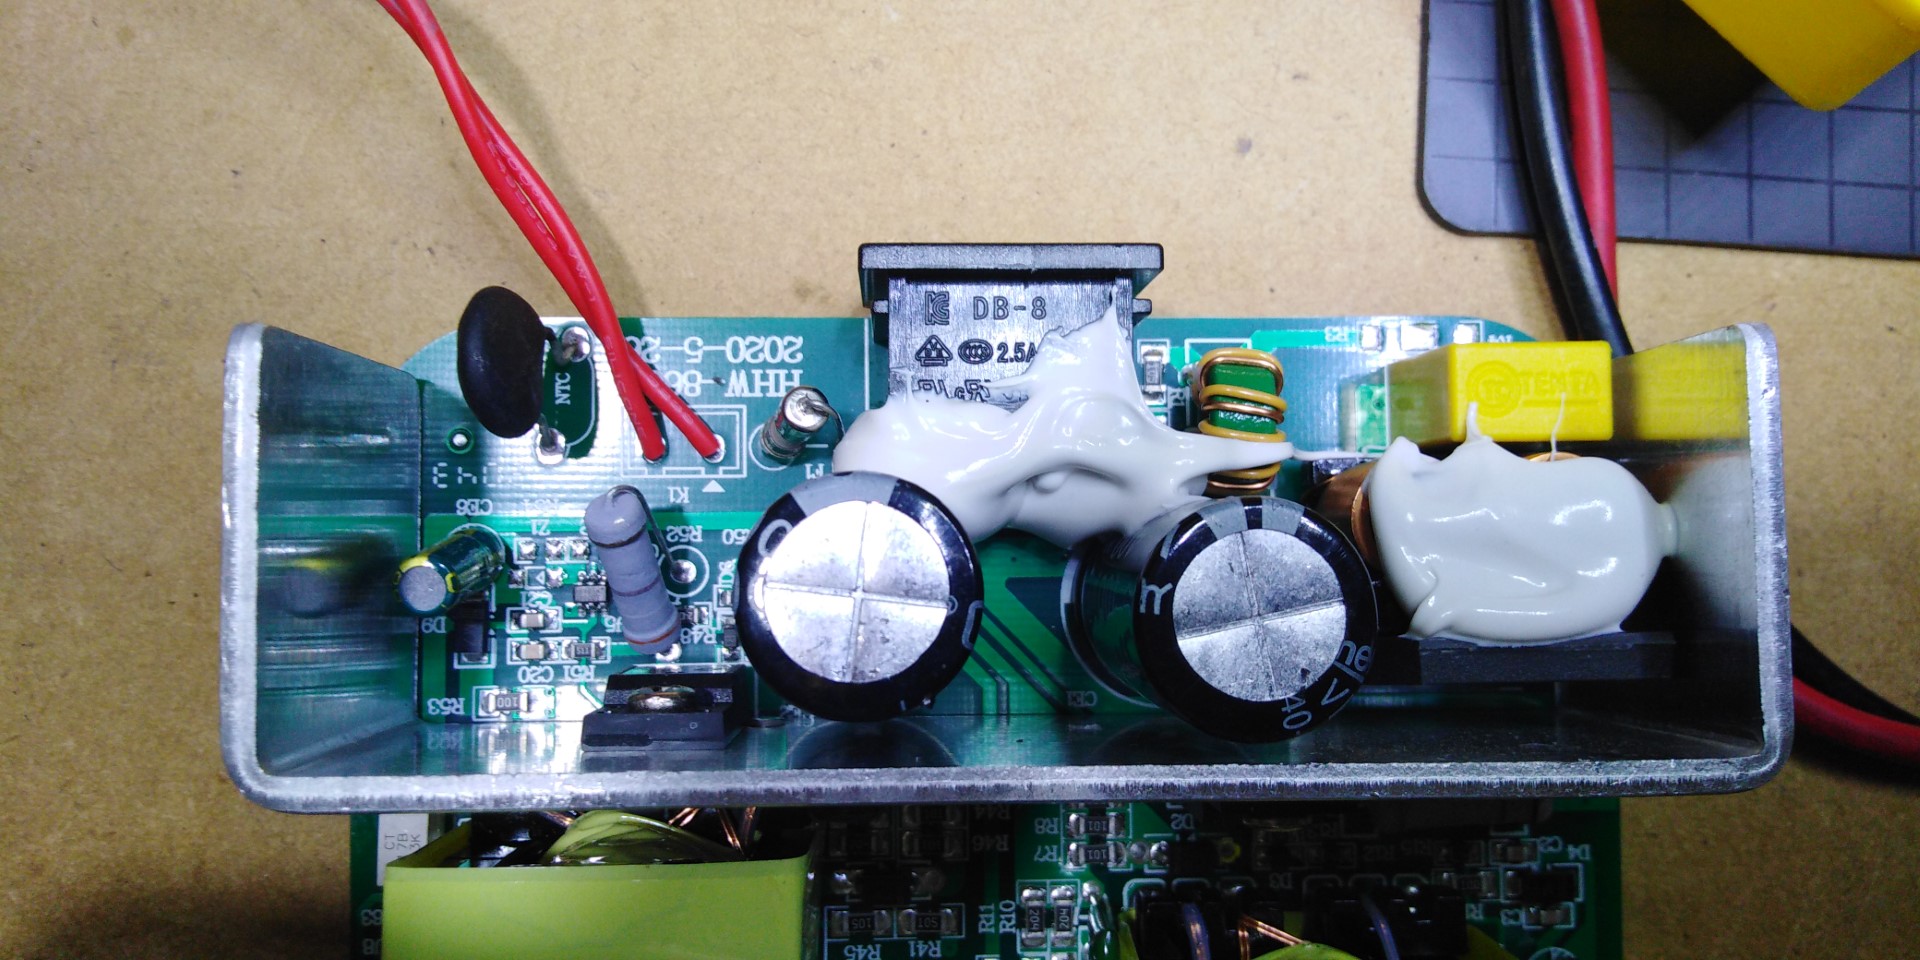
And last but not least, no good first look would be complete without some pictures of the guts of the victim in question. Revealing the inner juicy goodness is not for the faint of heart… the PinePower Desktop was not designed with a need to open it again after manufacture in mind, as it doesn’t have anything inside that is really user serviceable unless you really do know what you’re doing. If you do intend to do it though, you needs to insert something thin and flat down each side of the front panel to releave the side clips, and then also do the top clips, but they will release a lot easier than the side clips. As you’ll see from the picture from mine, I found that out the hard way… but superglue fixed that minor detail.
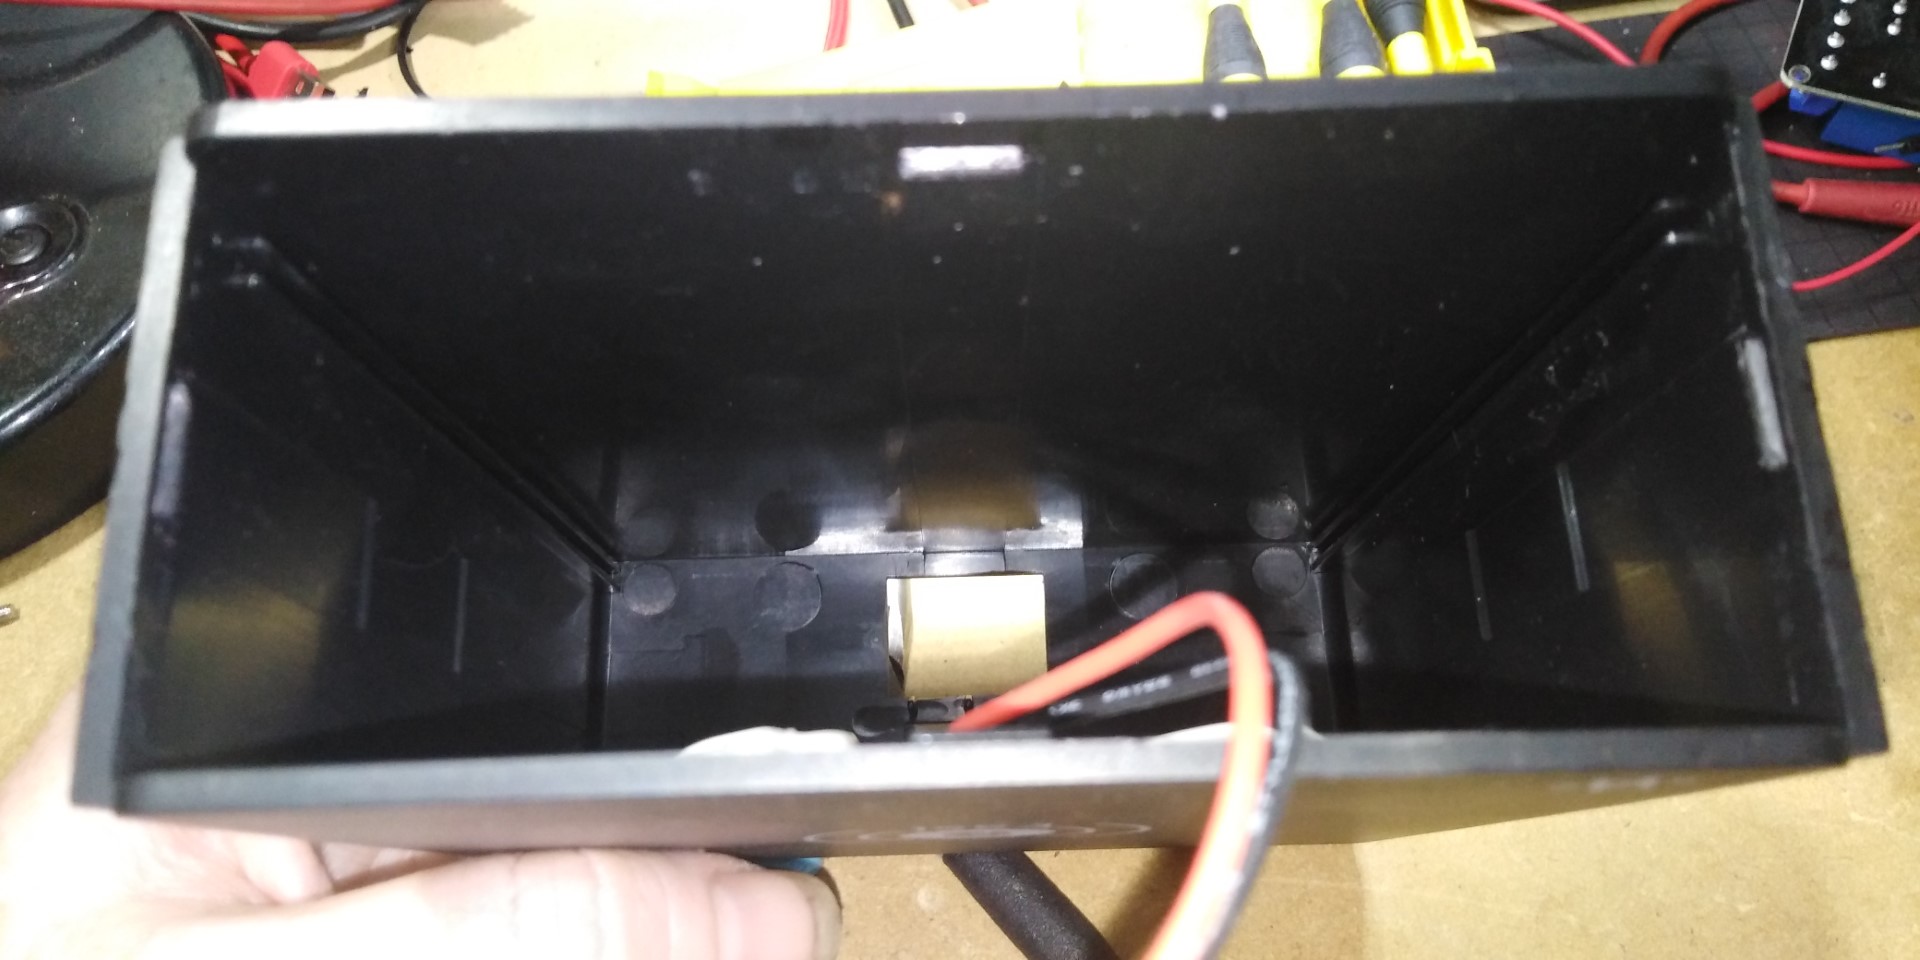
Next, pull the main board through, using a pair of screwdrivers or other flat instrument to pull the board over the knobbly bits protruding from the case. Then you will be able to unplug the lead running to the Qi wireless charge pad module. If you have not done so already, this would be a good time to remove the rocker power switch from the back, as you’ll need to unplug the leads from it in order to fully liberate the board from the case. I used a small screwdriver, and worked each side of the switch out with firm pressure on the side clips.
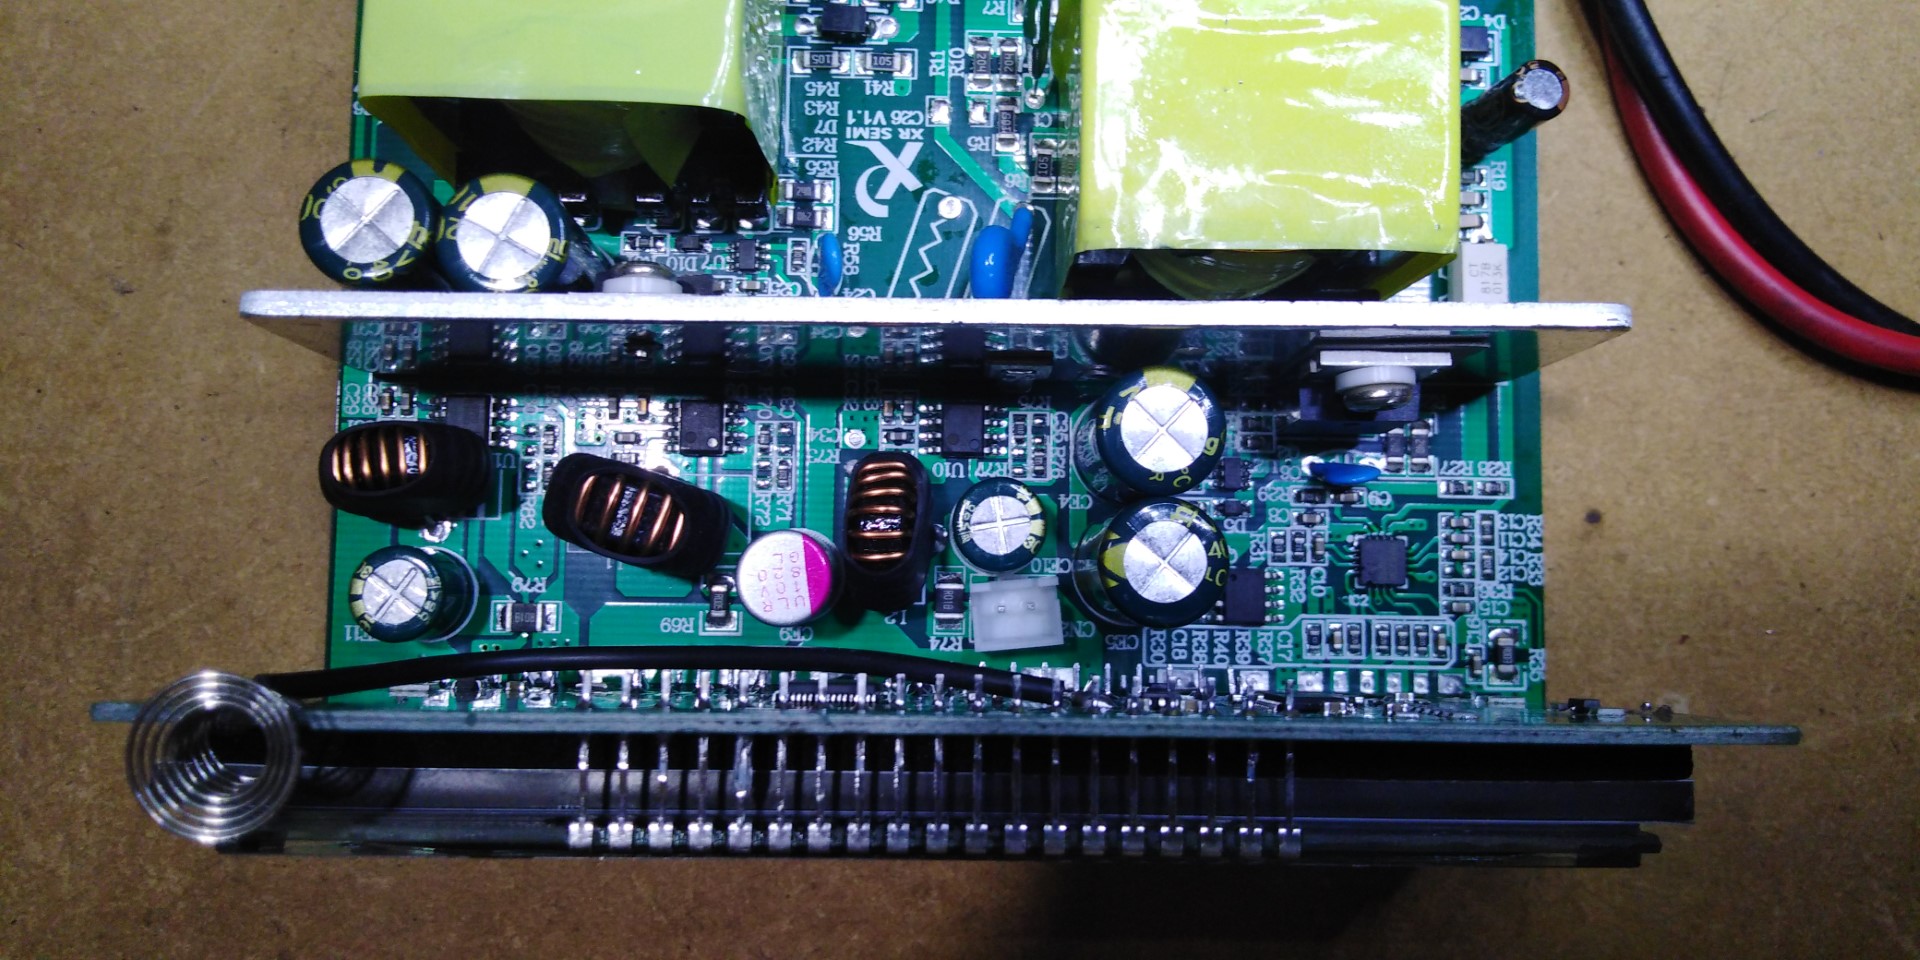
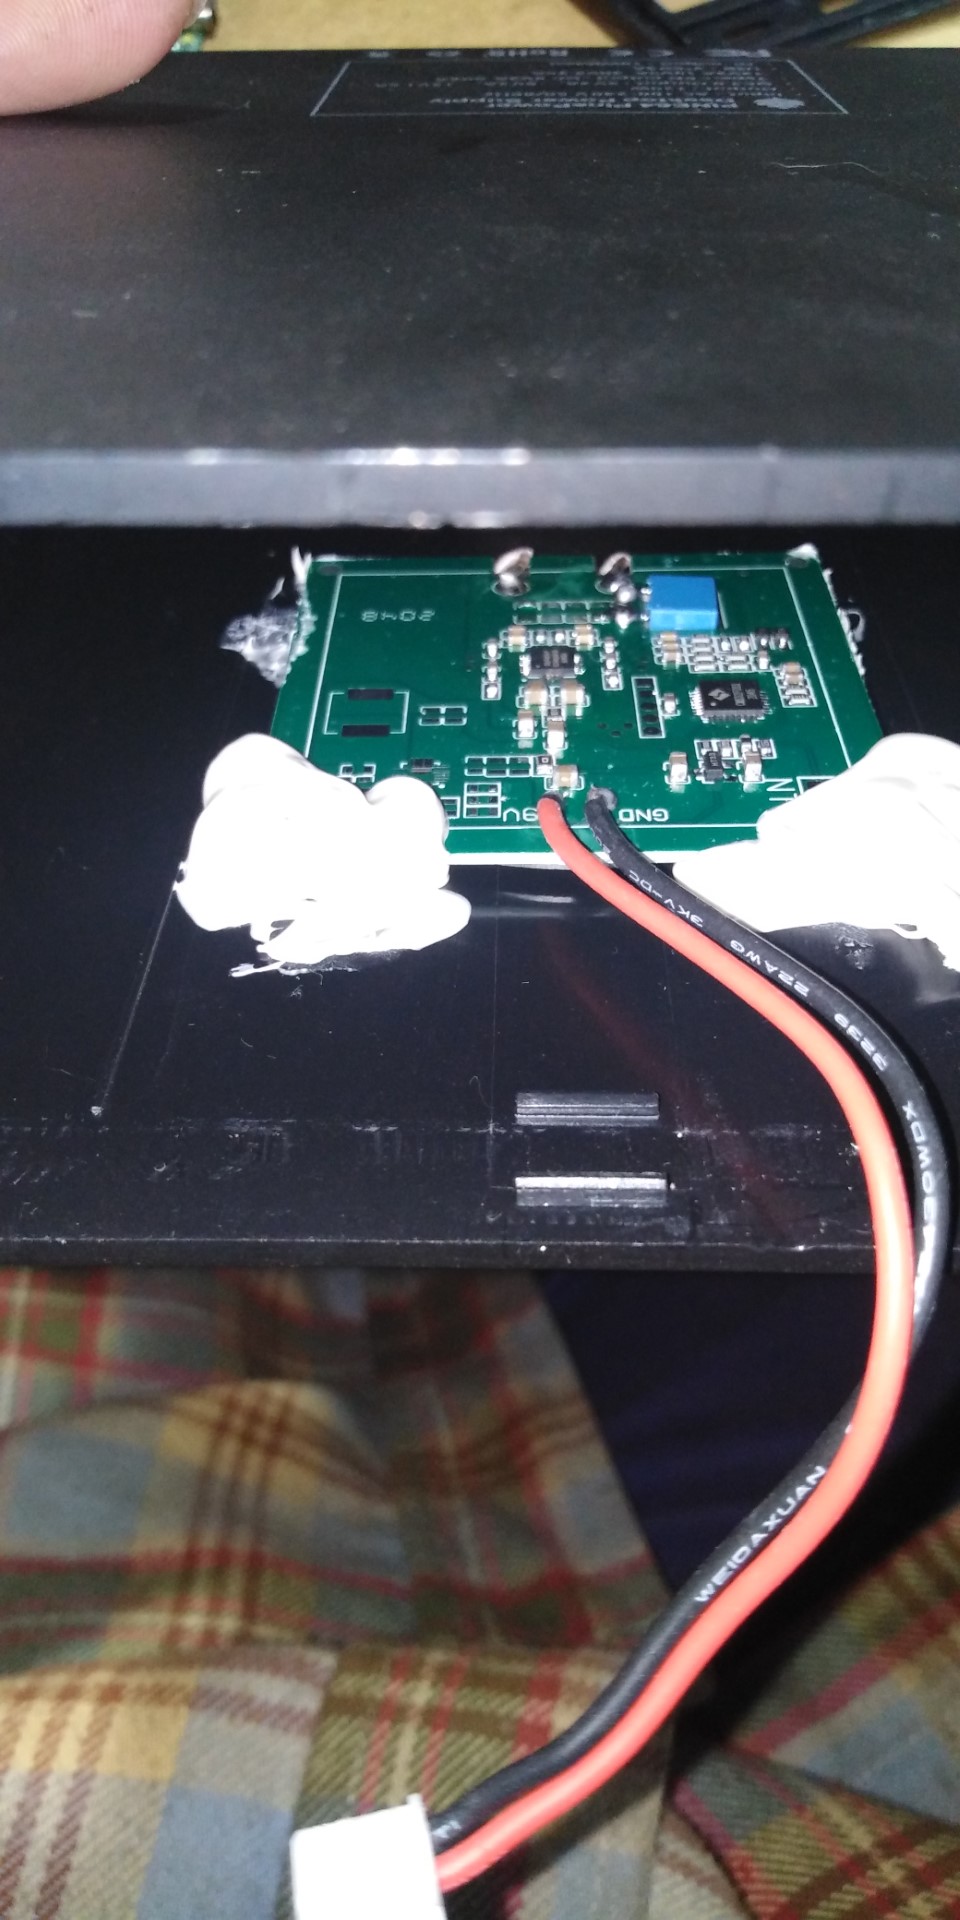
In summary, this is a very capable unit, and I hope to see the minor rough edges improved upon in a future revision. For a very reasonable price tag, it offers a lot of power, and some useful insight as to what is happening with the connected devices. It is also well suited for powering some of the more power hungry pine64 gear, such as the Pinebook Pro, or the Pinecil, as well as plenty of other devices. It will have a permenant home on my shelf next to a 8A Blitzwolf USB charger, and will most likely get used daily. For those of you who have stuck along and read this far, a bonus titbit. You may have noticed on the top of the uni near the front there is a sun-like logo. This is a capacitive touch sensor (you’ll see the coil for it at the front of the PCB above the display) which turns the display on and off when you momentarily touch it. If you want to find out more about it, check out the pine64.org community forums and or social media (including Twitter, Discord, Matrix, Telegram and more … links to them are in the menu on the main pine64.org website.